Stop overpaying: How to change your car’s oil at home and save hundreds
A straightforward way to manage one of your car’s most important maintenance jobs.
The cost of car ownership is rarely just about the price at the pump. The real “shock” usually hits when you’re staring at a service bill for routine maintenance. When you see those numbers and realize how little time the mechanic actually spent under the hood, it’s natural to wonder, “For this price, couldn’t I just do it at home?” The truth is, many people are intimidated by the thought of DIY maintenance, but it’s far simpler than it looks.
If you’ve ever questioned that service fee or just want to take control of your car’s health, you’re in the right place. Here is how to swap your engine oil safely and quickly, proving that you don’t need a professional garage to get professional results.
Why change your own oil?
Changing your own oil saves money and gives you control over the oil quality and filter you use. It also helps you to get more familiar with your vehicle and better understand how it works. Changing oil is one of the most basic car maintenance tasks you can do, and once you get the hang of it, it takes under an hour. Plus, there’s a kind of satisfaction that comes from doing it yourself and doing it right.
When to change the oil
The best way to know when your oil needs changing is to check your owner’s manual, which will tell you the manufacturer’s recommendation for both mileage and oil type. Modern cars are smarter than ever and usually have oil life monitoring systems that calculate oil changes based on your driving habits, not just mileage. If you’re taking frequent short trips, idling in traffic, or towing, your oil might need to be changed sooner.
In the past, the rule of thumb was every 3,000 miles, but newer engines and synthetic oils often go much longer between changes. Don’t rely on guesswork; use the dipstick if you’re unsure, and always pay attention to dashboard alerts.
What you’ll need
Before you even pop the hood, gather everything so you’re not scrambling mid-job:
- Oil filter wrench
- Socket wrench and appropriate socket (usually for your drain plug)
- Oil catch pan
- Funnel
- A pair of disposable nitrile gloves
- Rags or shop towels
- New oil filter
- New oil (check your owner’s manual for the right type and quantity)
- Jack and jack stands or ramps
- A clean piece of cardboard to lie on
- Oil filter gasket lube (optional but helpful)
- New drain plug gasket for some models
Before you start
Before diving in, take a few minutes to make sure you have the right oil and filter for your car. Your owner’s manual will tell you the exact type, volume, and viscosity of oil your engine needs. Don’t guess here. Wrong oil can damage your engine, and you can end up with a hefty service bill. If you don’t have an owner’s manual, search for the right oil company website. Every big brand has an accurate search function that suggests the right oil for your vehicle type.
When buying a filter, use your car’s make, model, and year to ensure compatibility, or ask at the auto parts store. They’ll help you find the right one.
Also, dress for the job. You don’t want to ruin your favorite shirt. Wear old clothes you don’t mind getting stained, and maybe keep a pair of garage-dedicated shoes nearby. Oil changes can get messy, especially your first time, and you’ll thank yourself later for thinking ahead.
Step 1: Position the car and get underneath
Park your car on a flat surface. Engage the parking brake and, if needed, use wheel chocks behind the rear tires. If you’re using ramps, drive up slowly and make sure the car is stable. If using a jack, raise the front end and place the jack stand underneath. Never trust a jack alone!
Lay down your cardboard and slide it under the car with the oil catch pan positioned under the drain plug. For modern cars, the underneath of the engine is covered with a plastic undertray to improve airflow and protect the engine from debris. Remove it and check for oil leaks. If you find something, it is better to go check it with a professional who can determine the issue.
Step 2:Drain the oil

Put on your gloves and make sure the oil pan is under the drain plug. The oil pan should be large enough to hold the oil you will drain from the car. Use the socket wrench to carefully loosen the drain plug. Once it’s loose, unscrew it by hand and let the oil drain fully into the pan. Be ready to move the pan slightly if needed because the oil may shoot out at an angle at first. Give it a few minutes to drain completely.
Pro tip: Set the drain plug and washer on a towel nearby so you don’t lose them in the dark corners of your garage.
Step 3: Replace the oil filter
Use your oil filter wrench (turn counterclockwise) to remove the old oil filter. Some oil will spill out, so keep the catch pan underneath. Remove the old gasket, too. Use a rag to wipe down the area where the filter connects to the engine.
Before installing the new filter, rub a bit of fresh oil onto the rubber gasket. This helps it seal better and come off easier next time. Screw the new filter on hand-tight only. Don’t over-tighten. Most oil filters only need to be tightened until the gasket contacts the base, then another ¾ turn by hand.
Step 4: Reinstall the drain plug
Once all the oil has drained, grab your drain plug and inspect the washer behind it. Many vehicles require this washer to be replaced each time; check your owner’s manual to be sure. Screw the plug back in by hand at first, then tighten it with a wrench until it’s snug, but don’t go overboard. You want it tight enough to seal but not so tight that you risk stripping the oil pan or snapping the plug. If you have a torque wrench, use it and follow the torque spec listed by your car’s manufacturer.
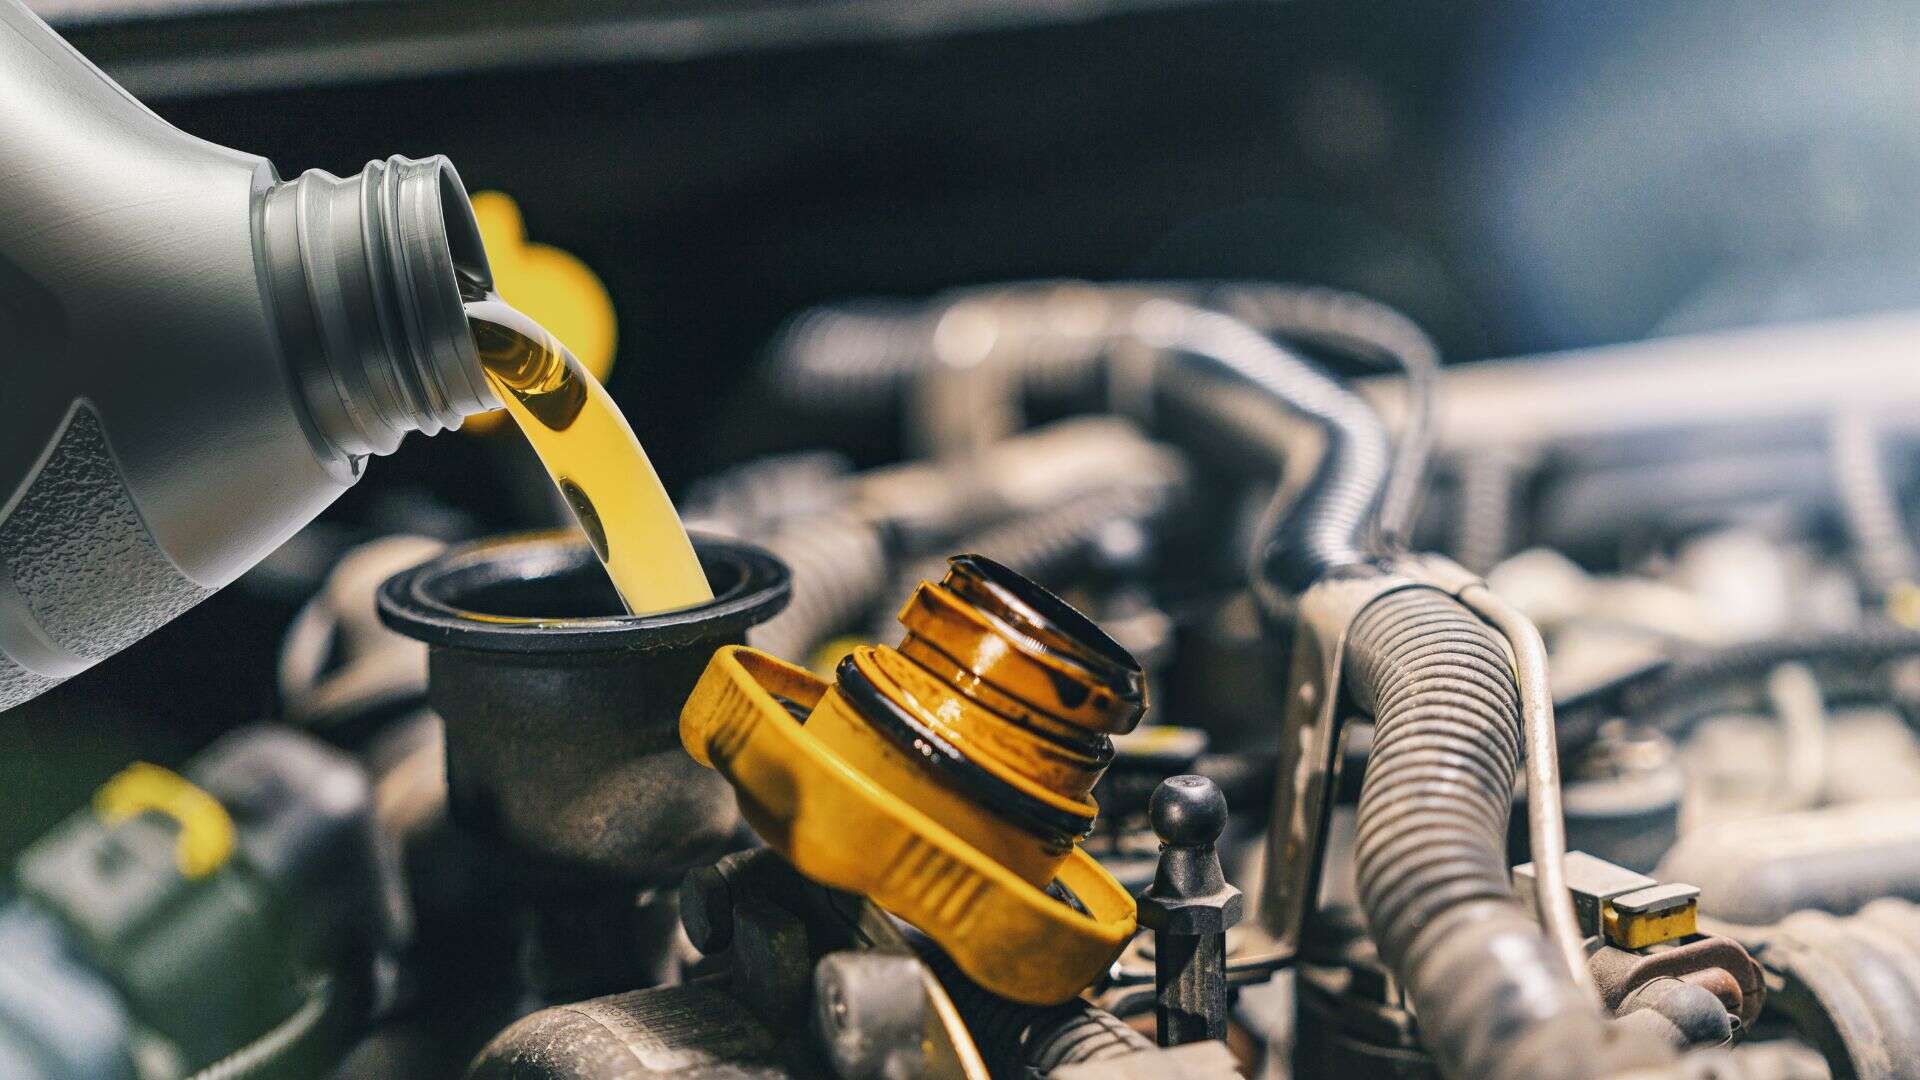
Step 5: Add new oil
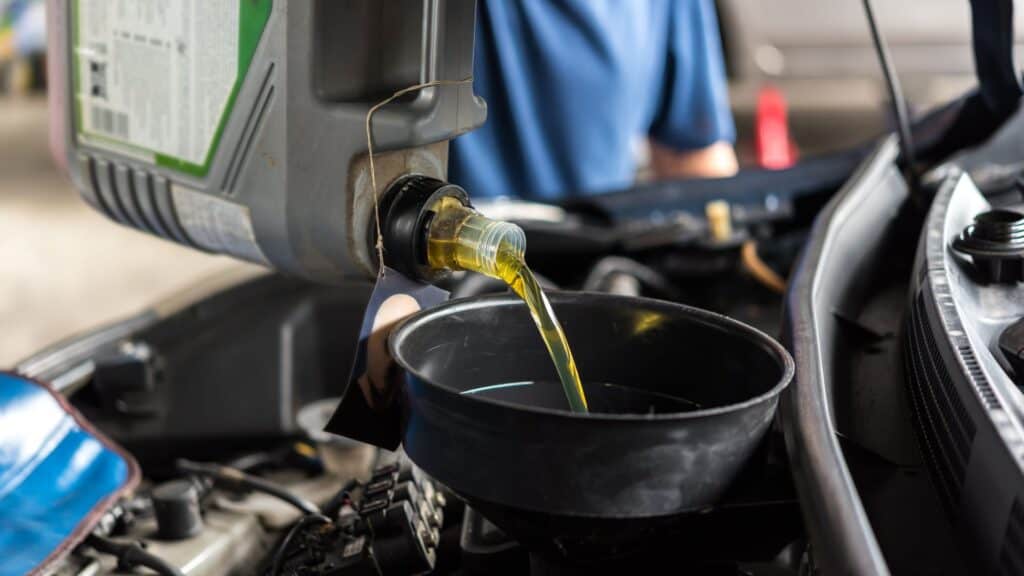
Pop the hood and remove the oil cap. Use a funnel to pour in the correct amount of new oil. Don’t rush! Pour slowly to avoid spills. Once you’re done, double-check that the oil cap is back on. Then, start the engine and let it idle for a minute. Watch for any leaks underneath and listen for any strange noises.
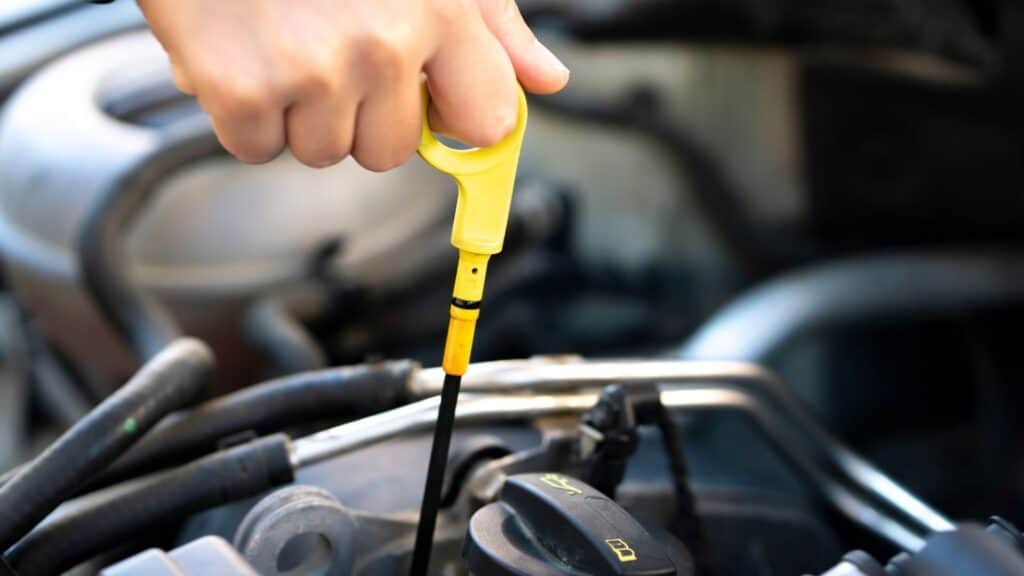
Step 6: Check the oil level
After letting the engine run for a minute, shut it off and wait a couple of minutes for the oil to settle. Pull out the dipstick, wipe it clean, reinsert it, and pull it out again to check the level. If it’s a little low, add more oil gradually until it reaches the proper mark.
If your vehicle has an oil life monitoring system, now’s the time to reset it; otherwise, your dashboard might keep showing an oil change warning. You can usually do this through the settings menu or on a trip computer. Best to check your owner’s manual for the exact steps.
Finally, write down the mileage and date somewhere handy so you’ll remember when you last changed the oil. It makes future maintenance easier to track, and your car will thank you for it.
Step 7: Clean up
Pour the used oil into a sealed container and take it to a recycling center. Never dump it in the trash or down a drain. Throw out used rags and gloves responsibly.
Wipe down your tools and stash them for next time. Wash your hands, pat yourself on the back, and enjoy the fact that you just saved yourself at least $50. Or more.
Changing your oil isn’t just about saving money. It’s about knowing your vehicle, getting your hands dirty, and doing something useful with your time. Do it once, and you’ll wonder why you ever paid someone else for it.
Next time, it’ll go even smoother and maybe even faster. No mess, no stress.