Flat tire? Don’t panic — here’s how to fix it fast
This guide will walk you through step-by-step instructions for fixing a flat tire, highlight useful tools and products, and offer tips for staying safe in the process.
A flat tire is one of the most common mechanical setbacks a driver will face. While the experience is undeniably inconvenient, it doesn’t have to be a crisis. For the average driver, the difference between a minor delay and a dangerous situation lies in preparation and a calm, methodical response. Understanding how to handle your vehicle the moment you suspect a leak and knowing the mechanical steps to fix it are essential skills for the road.
Identifying the problem and pulling over
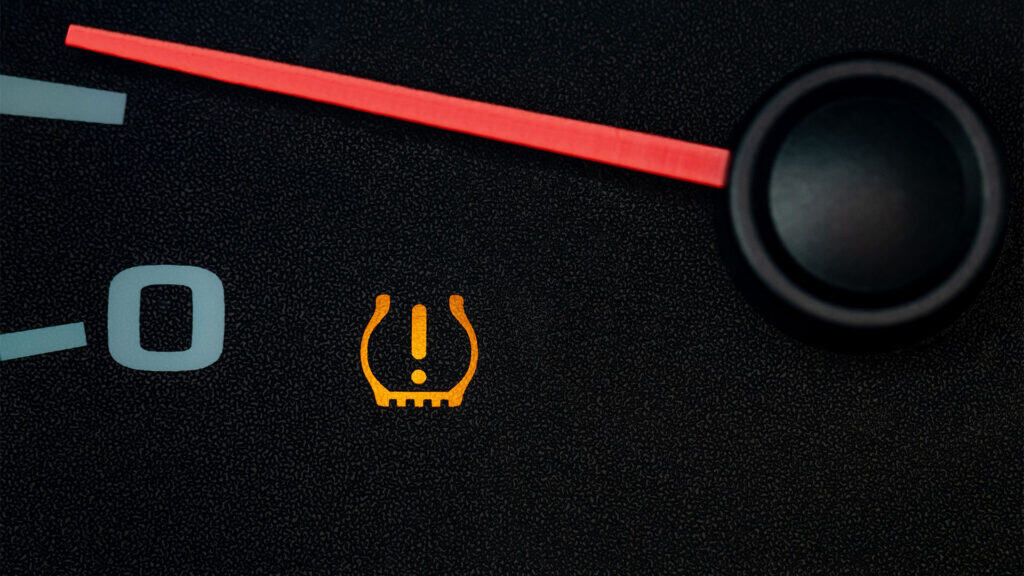
The first indication of a flat tire is rarely a loud blowout. More often, you will notice a subtle vibration, a rhythmic flapping sound, or the steering wheel pulling persistently to one side. Modern vehicles are equipped with a Tire Pressure Monitoring System (TPMS) that triggers a dashboard light when pressure drops significantly. Regardless of whether the light is on, any change in the vehicle’s handling requires an immediate, controlled stop.
Safety is the absolute priority when choosing where to pull over. You should avoid slamming on the brakes, as sudden deceleration can cause a flat tire to get loose, leading to a loss of control. Instead, maintain a firm grip on the steering wheel, ease off the gas, and signal your intent to move toward the shoulder.
The ideal spot is a level, firm surface well away from moving traffic. Soft dirt or grass should be avoided, as these surfaces cannot reliably support the weight of a car on a jack. If you are on a busy highway and cannot reach an exit or a wide parking lot, pull as far onto the shoulder as possible. If the passenger-side tire is the one that is flat, you have a natural buffer between yourself and traffic. If the driver-side tire is flat, the risk is significantly higher. In high-traffic areas or narrow shoulders, it is often safer to call for professional roadside assistance than to risk standing in the path of oncoming vehicles.
Preparing for for tire change
Once the vehicle is stopped, turn on your hazard lights immediately. If you carry reflective triangles or flares, place them well behind your vehicle to give other drivers ample warning. Before exiting the car, engage the parking brake and ensure the transmission is in “Park” (or in gear for a manual transmission).
Locate your spare tire, jack, and lug wrench, which are typically found under the trunk floor or mounted beneath the rear of the vehicle. It is also wise to find a heavy object, such as a rock or a brick, to use as a wheel chock. If you are changing a front tire, place the chock behind the rear tire on the opposite side. If you are changing a rear tire, place it in front of the front tire on the opposite side. This prevents the car from rolling off the jack while it is suspended.
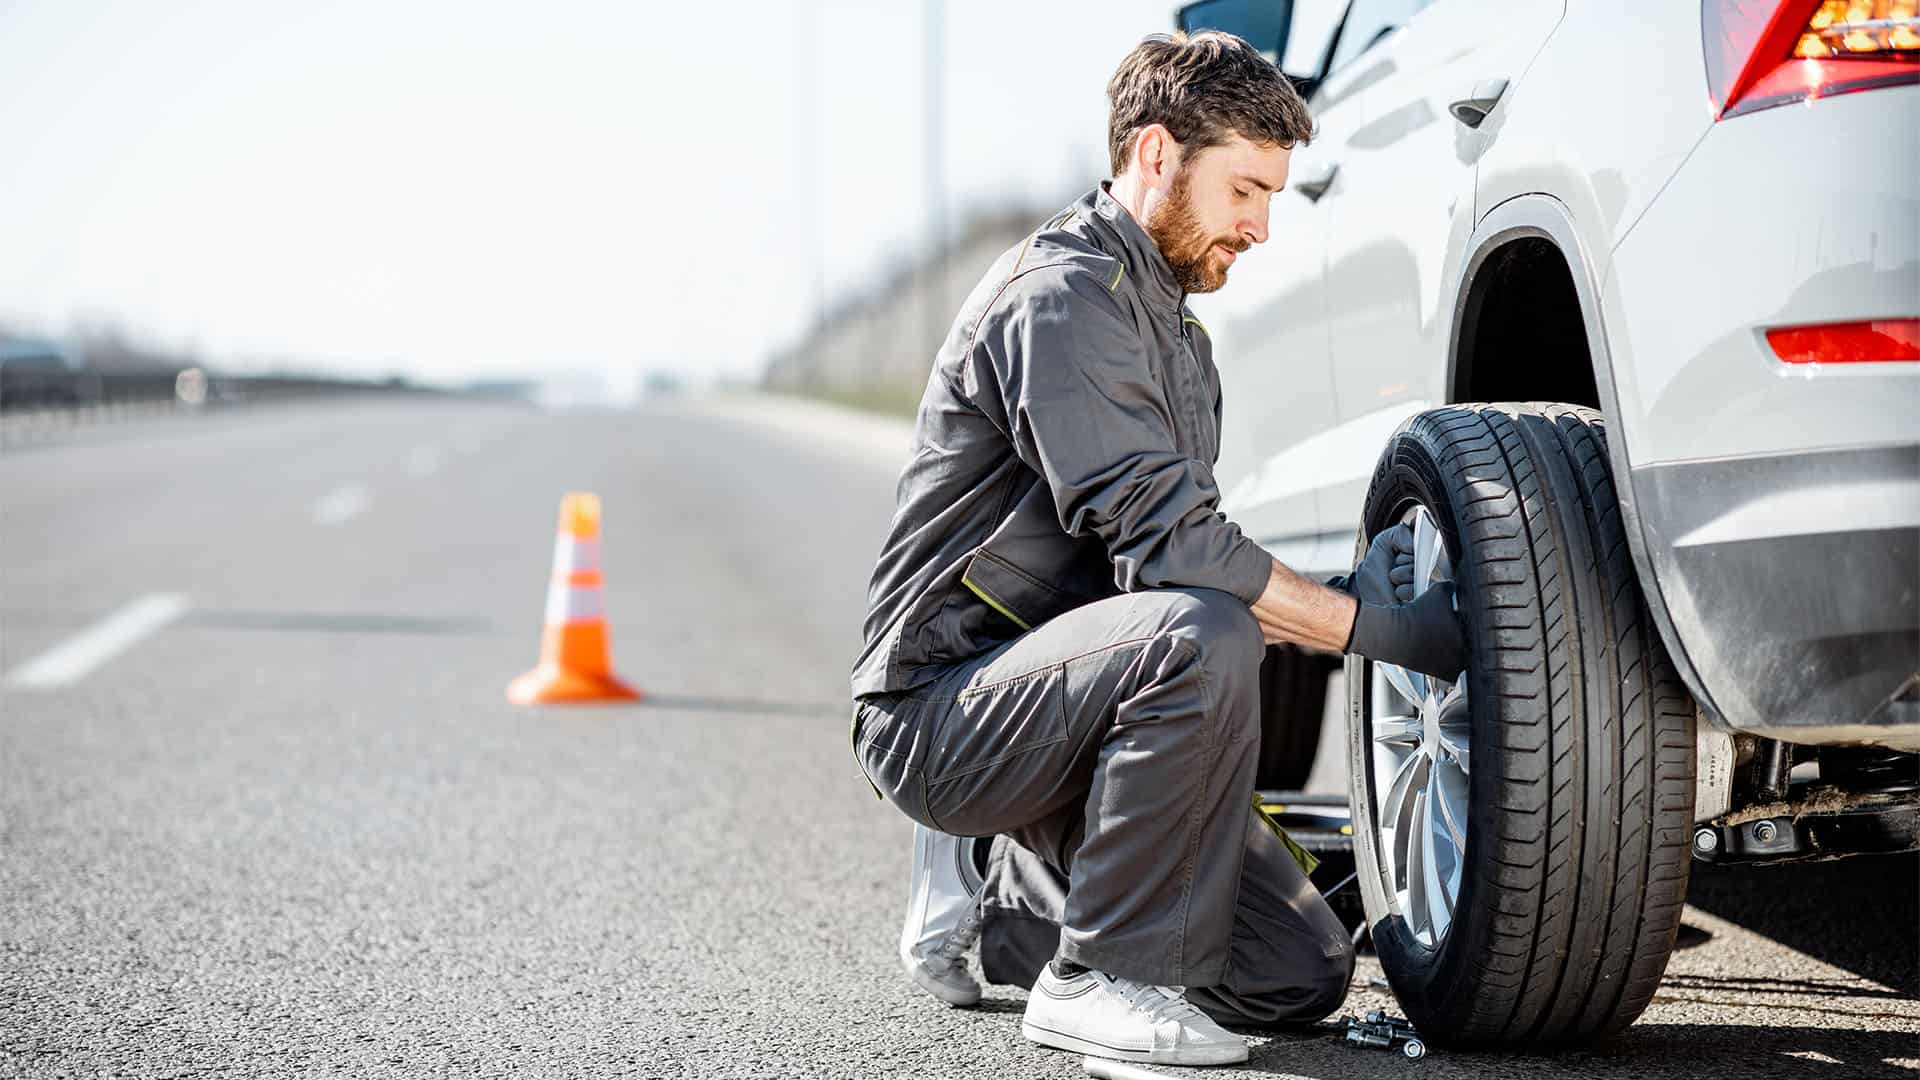
The tire change process

Begin by removing the hubcap or wheel cover if your vehicle has them. Use the flat end of the lug wrench to pry it off. Before you lift the car with the jack, use the lug wrench to loosen the lug nuts. Turn them counterclockwise about half a turn. They are often tightened by machines at repair shops and can be very difficult to move; you may need to use your body weight or carefully step on the wrench handle to break the initial resistance. Do not remove the nuts entirely yet; they need to stay on to keep the wheel secure while the car is still on the ground.
Consult your owner’s manual to identify the specific jack points for your vehicle. These are reinforced metal areas designed to bear the weight of the car. Placing the jack under a plastic molding or a thin floorboard will cause expensive damage. Once the jack is properly positioned, raise the vehicle until the flat tire is approximately six inches off the ground.
Finish unscrewing the lug nuts by hand and pull the flat tire toward you to remove it from the hub. Set it aside. Line up the holes of the spare tire with the bolts on the hub and push the spare on until it sits flush. Replace the lug nuts and tighten them by hand until they are snug.
Lower the jack until the spare tire touches the ground, but the full weight of the car is not yet resting on it. Use the wrench to tighten the lug nuts in a star or “criss-cross” pattern rather than going in a circle. This ensures the wheel is seated evenly against the hub. Once tightened, lower the jack completely and remove it.
Temporary solutions
Many modern vehicles, particularly hybrids and electric cars, do not come with a spare tire. Instead, they provide a tire repair kit consisting of a sealant canister and a small air compressor. These kits are effective for small punctures in the tread area caused by nails or screws, but they will not fix large blowouts.
To use a kit, connect the sealant bottle to the tire valve and the compressor to the car’s power outlet. This injects a liquid adhesive into the tire while inflating it. If the tire successfully holds air, you must drive the vehicle immediately for several miles to allow the sealant to spread evenly. Be aware that sealant is a strictly temporary measure; the tire must be professionally repaired or replaced as soon as possible, as the chemicals can eventually degrade the rubber and affect the TPMS sensors.
Driving on a spare tire

A standard “donut” or temporary spare tire is not built for daily driving. These tires have significantly less traction and a thinner construction than regular tires. You should generally adhere to the “50/50 rule”: do not exceed 50 miles per hour and do not drive more than 50 miles on the spare.
Because spare tires often sit in trunks for years without being checked, they frequently lose air pressure. After installing a spare, drive cautiously to the nearest service station to check its pressure and top it off if necessary. Your next stop should be a tire shop to have your original tire inspected. In many cases, a simple patch can save the tire, but if the puncture is in the sidewall, a full replacement will be required.
When to call for help
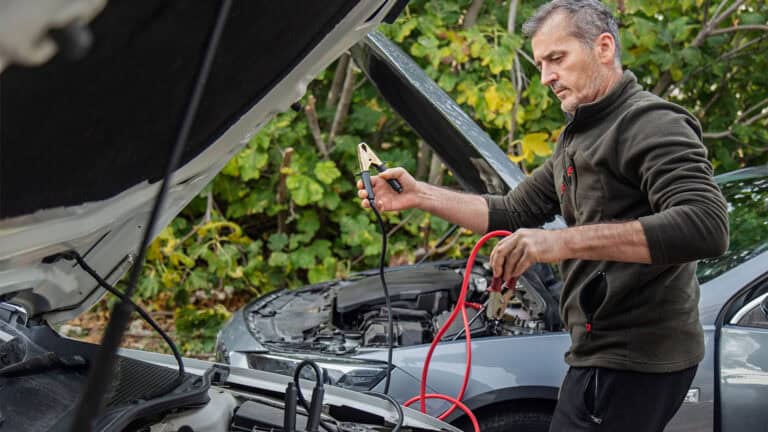
If you’re missing tools, can’t safely pull over, or feel unsure, it’s completely okay to call for roadside assistance. Services like AAA, your car manufacturer’s support line, or insurance companies can all dispatch help quickly.
Also, call for help if:
- The lug nuts won’t budge
- The spare tire is flat
- You’re on a narrow shoulder or in an unsafe location
- It’s dark, raining, or otherwise unsafe
Final tips
To truly master the roadside, preparation is as important as the physical repair itself. Practice changing a tire in your driveway under ideal conditions so the process feels like second nature when you are facing wind or rain. You should also check your spare tire’s air pressure every few months, as these often lose air while sitting in the trunk. Keeping a tire pressure gauge and a portable inflator in your vehicle can turn a potentially stressful breakdown into a minor, manageable delay.
While fixing a flat is never a pleasant task, having the right mindset and basic knowledge ensures you aren’t left stranded waiting for a costly tow. By preparing your gear and keeping your phone charged for emergencies, you maintain control over your safety and your schedule. With these simple habits, any driver can handle a flat tire efficiently and get back on the road in no time.